 "MR2_FTW - Group J's resident Stig" (MR2_FTW)
01/13/2014 at 00:34 • Filed to: cressida, build, wagon
 4
4
 3
3
 "MR2_FTW - Group J's resident Stig" (MR2_FTW)
01/13/2014 at 00:34 • Filed to: cressida, build, wagon |  4 4
|  3 3 |
1/9/13
The intermittent starting problem reared its ugly head again
today. It started up great this morning, but when I tried to go to lunch
it just gave me the "click" and wouldn't turn over. I was so pissed I
may or may not have punched the rear quarter, and then subsequently had
to push the dent back out lol. Anyways, when it came time to go home
after work it fired up fine first try. So tonight I went through and
cleaned the - cable end and battery terminal as well as the existing
chassis ground and added an extra ground to the intake manifold. I also
cleaned the + terminal and cable end at the battery and at the starter.
Hopefully this will fix my issue. Hopefully.
Either way, reving that
big old 2.8L six up to 6500rpm on the way home TOTALLY makes up for any
electrical frustrations. Good lord, dat noise.....
1/10/13
The
other night when I was under the car cleaning up the wiring, I also
added a heat shield sleeve to the speedo cable, since it's sorta
touching the exhaust. I used a spark plug heat sleeve like these
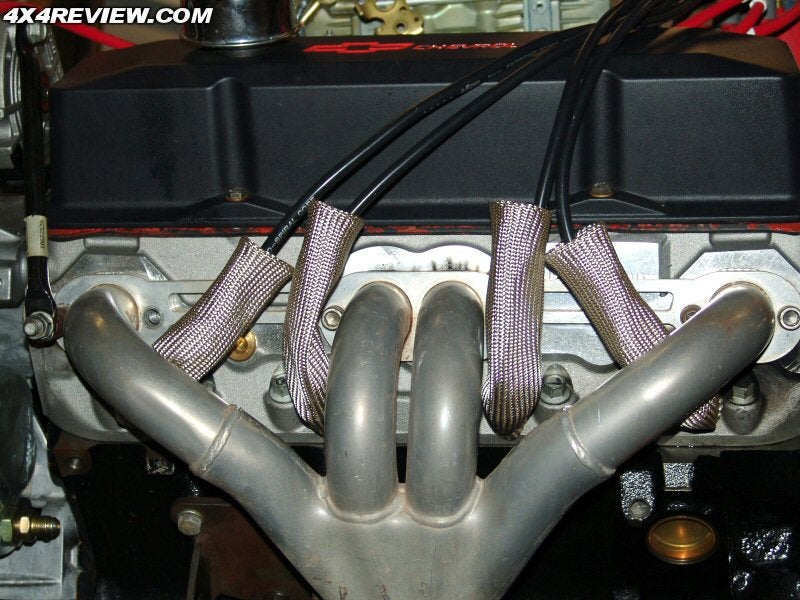
I think it must have already been brittle from the heat, because last
night my speedo stopped working. I put it up on a lift after work today
and found that there was a break somewhere in the short cable. (The
speedo cable is two pieces, a short section about a foot long connects
the transmission to the long cable that goes up to the dash)
So I ordered a new short section for like $12 and it will be here on Tuesday or Wednesday.
Also,
I got my urethane from McMaster-Carr in today. Pretty much ready to
take this thing down for suspension overhaul as soon as I get the MR2
fixed.
1/12/13
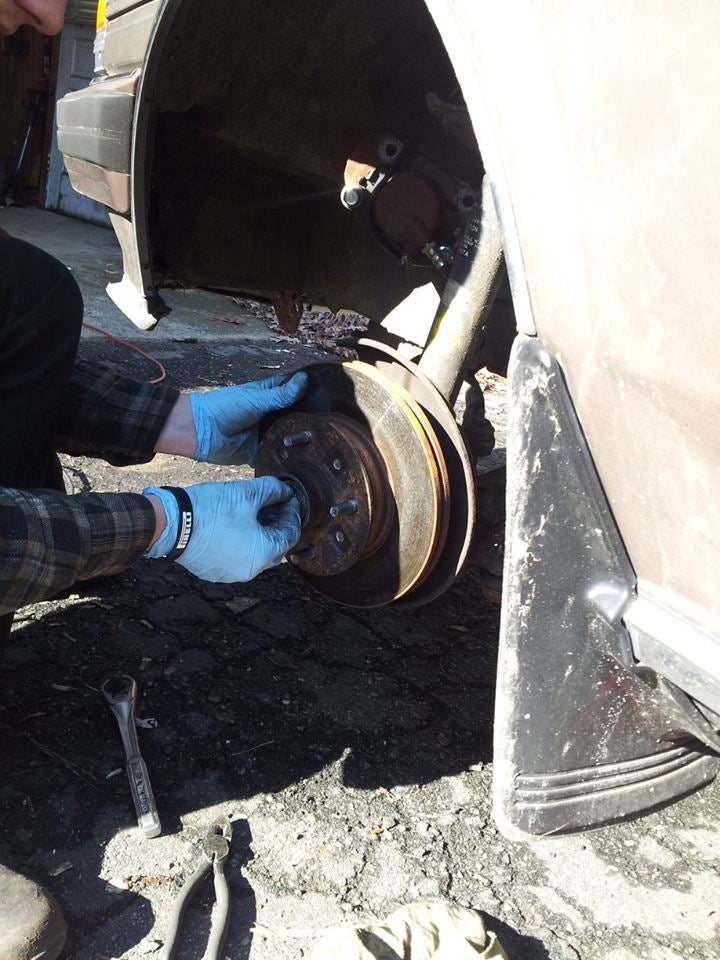
I got the car up in hover mode today, all 4
corners on jackstands. My awesome girlfriend was nice enough to take
some pics while she helped me out.
I held the brake caliper up out of the way with a bungie cord and removed the hub
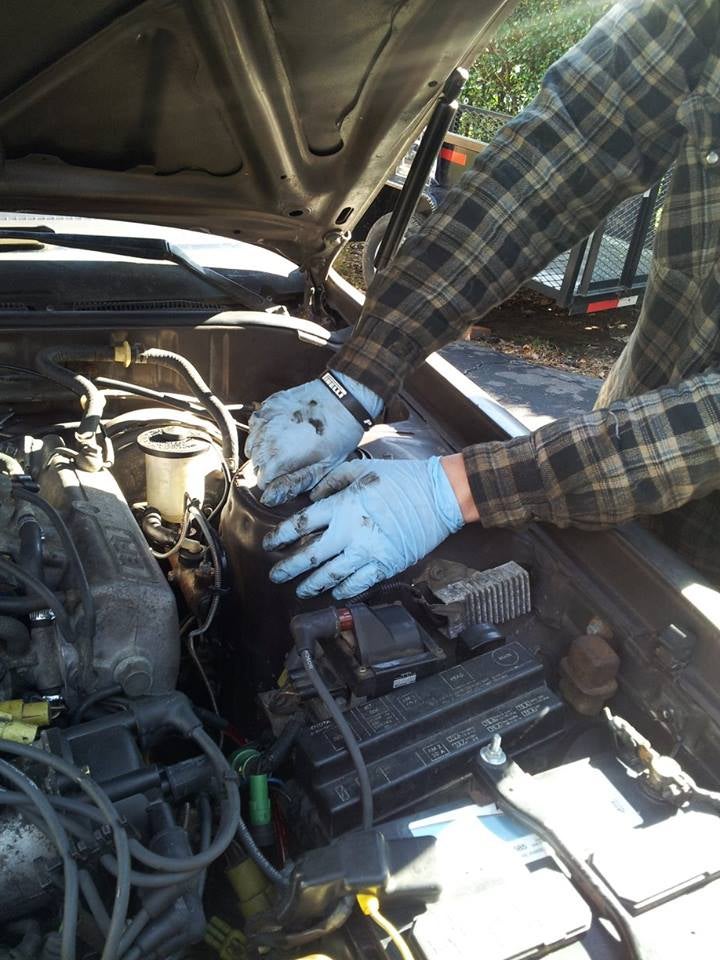
Removing the upper strut mount bolts
Ready to come out
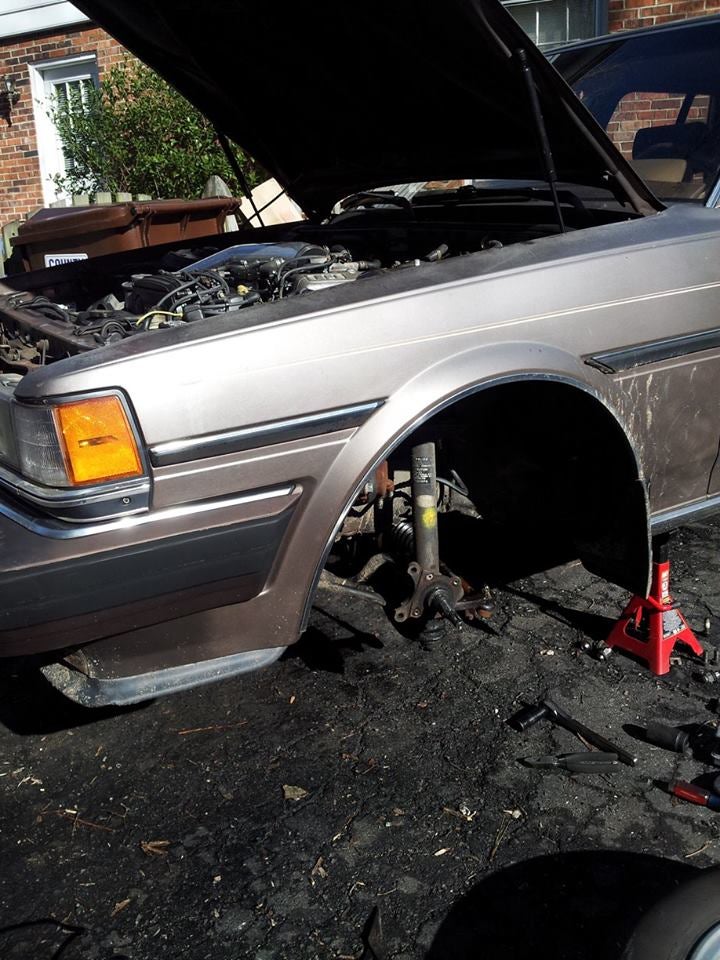
Gone!
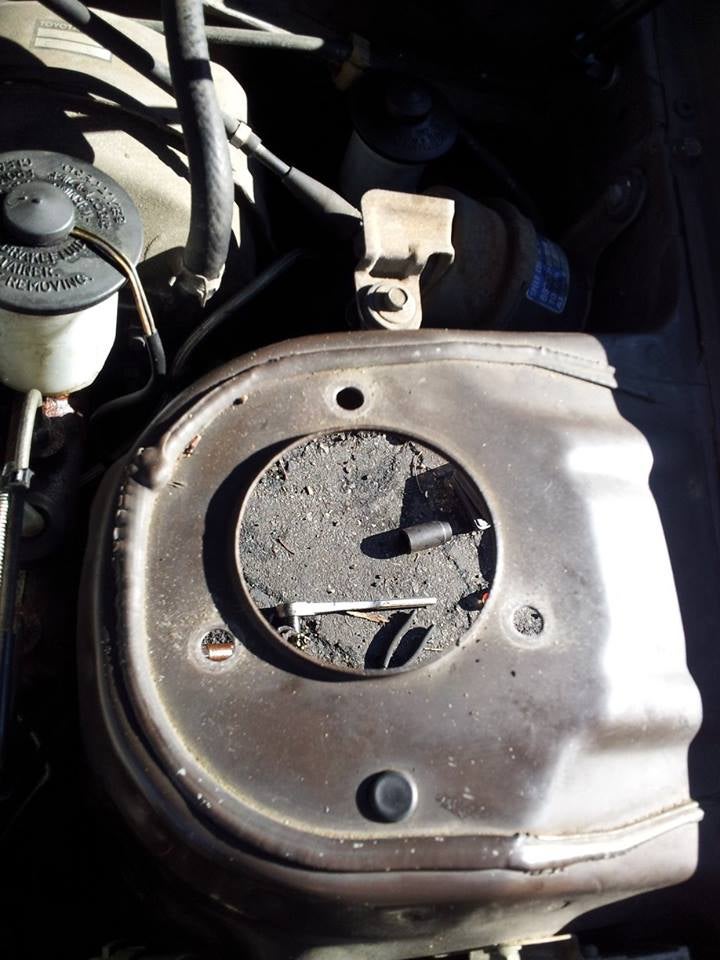
Adios, POS.
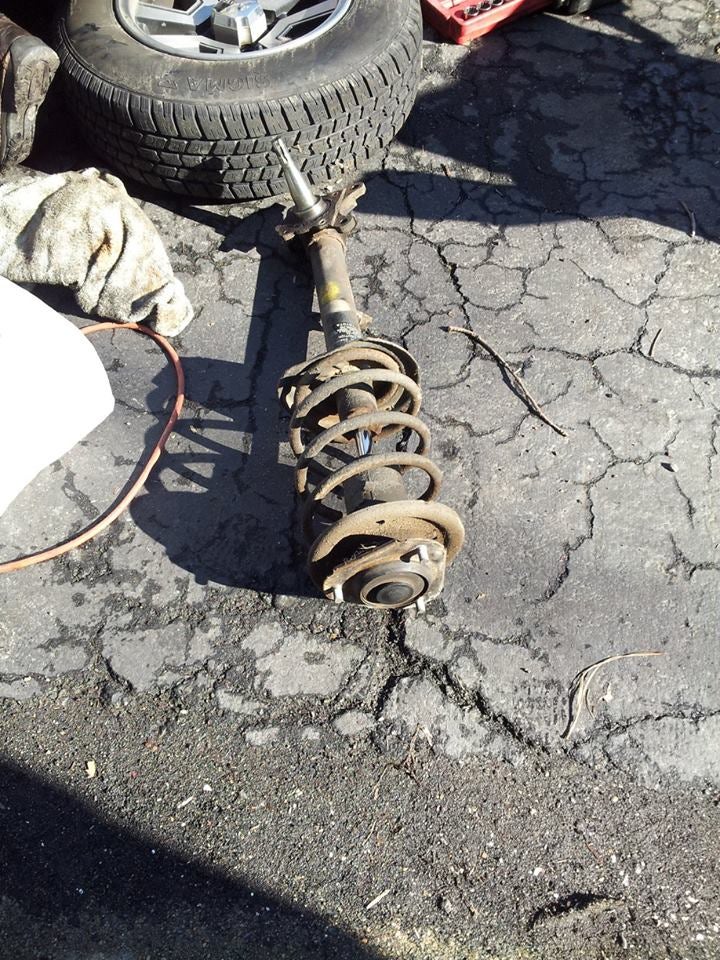
So pretty!!!!
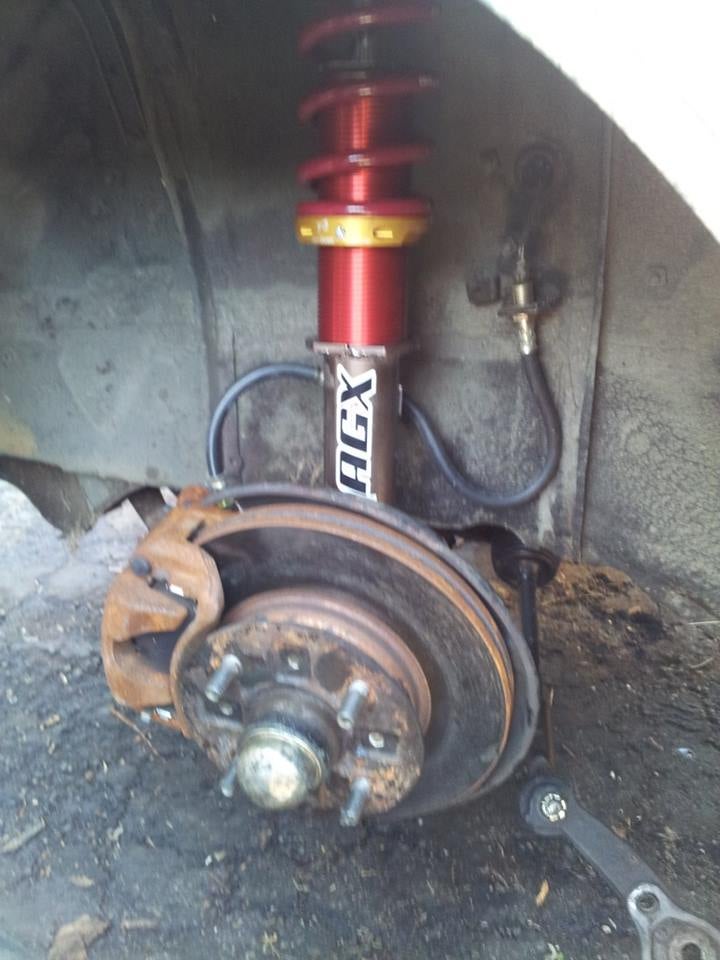
Mmmmm T3 goodness
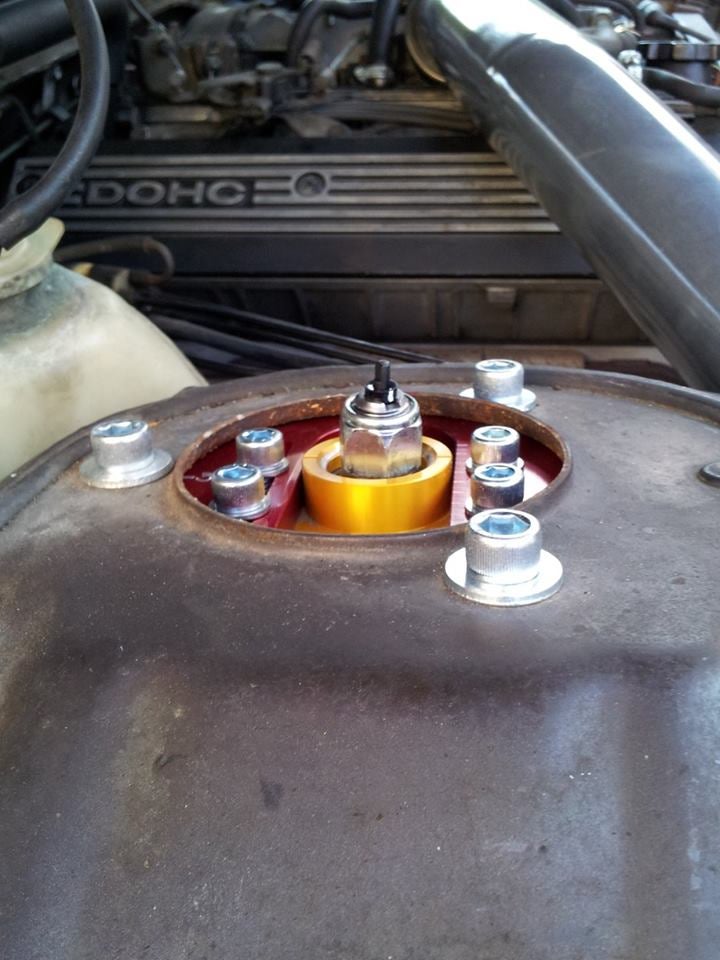
Also removed the control arms
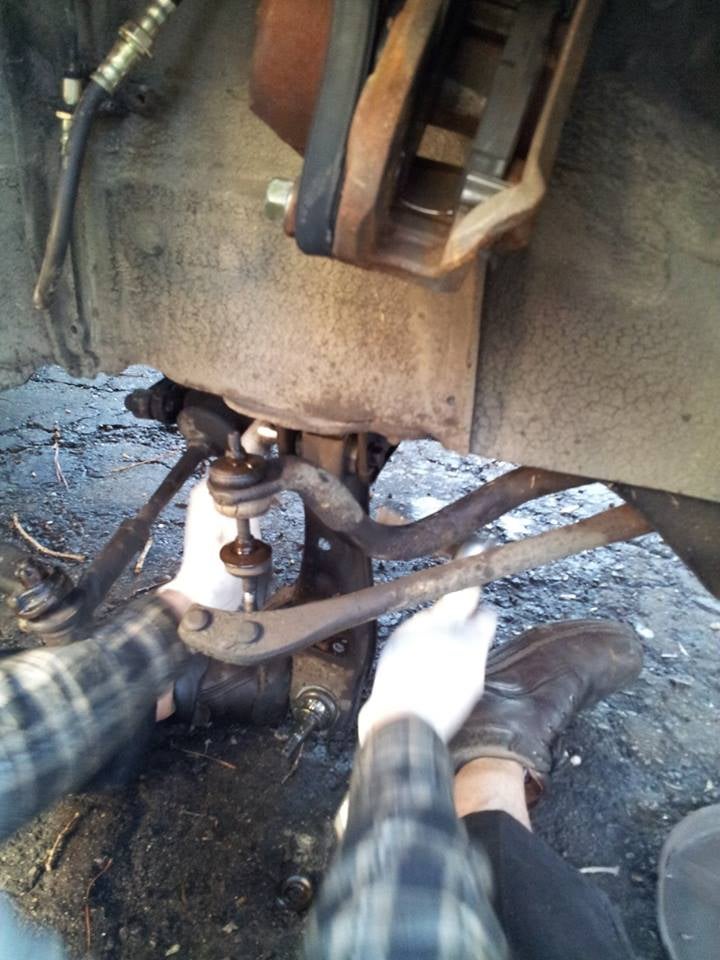
Old rubber bushings out, new urethane bushings in
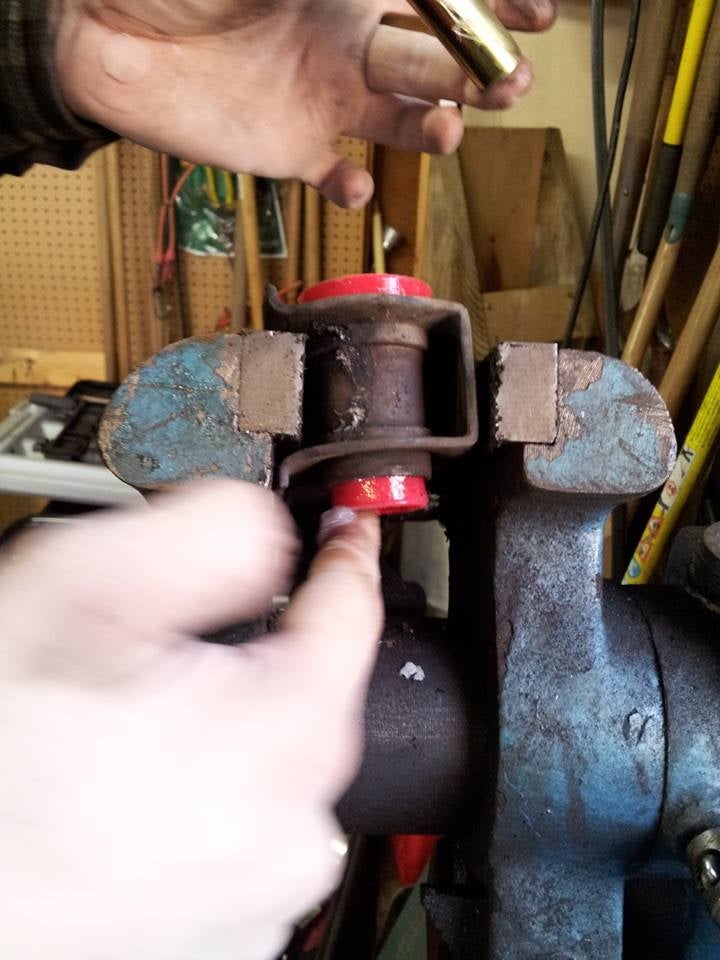
Turns out it's way easier to put the bushing in and THEN the metal sleeve
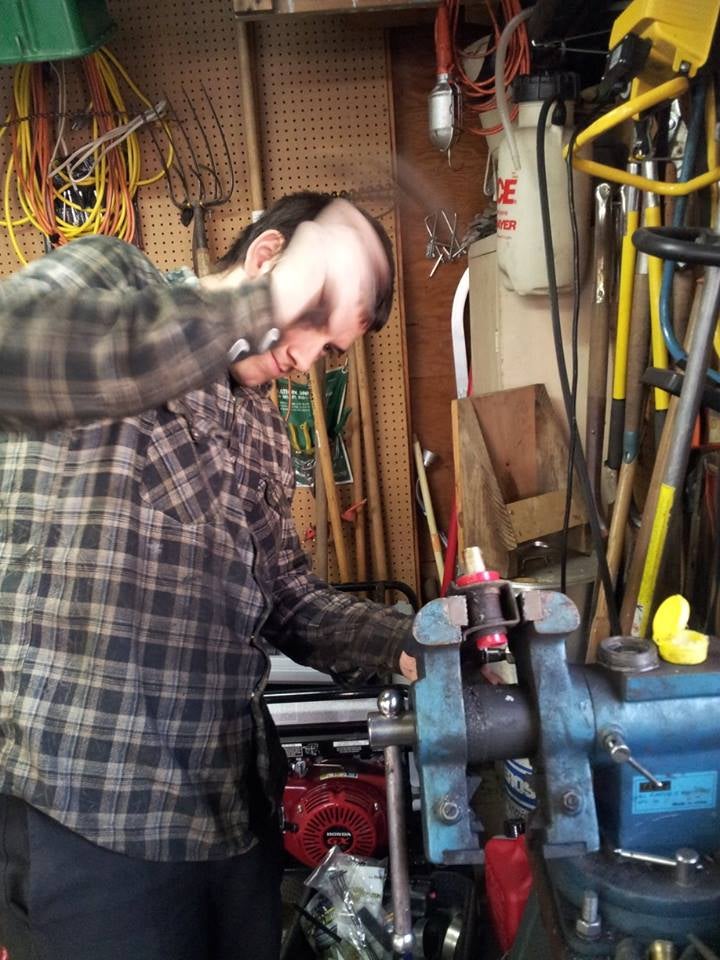
Bushings in, taking the arms with me to work tomorrow to get the old ball joints pressed out
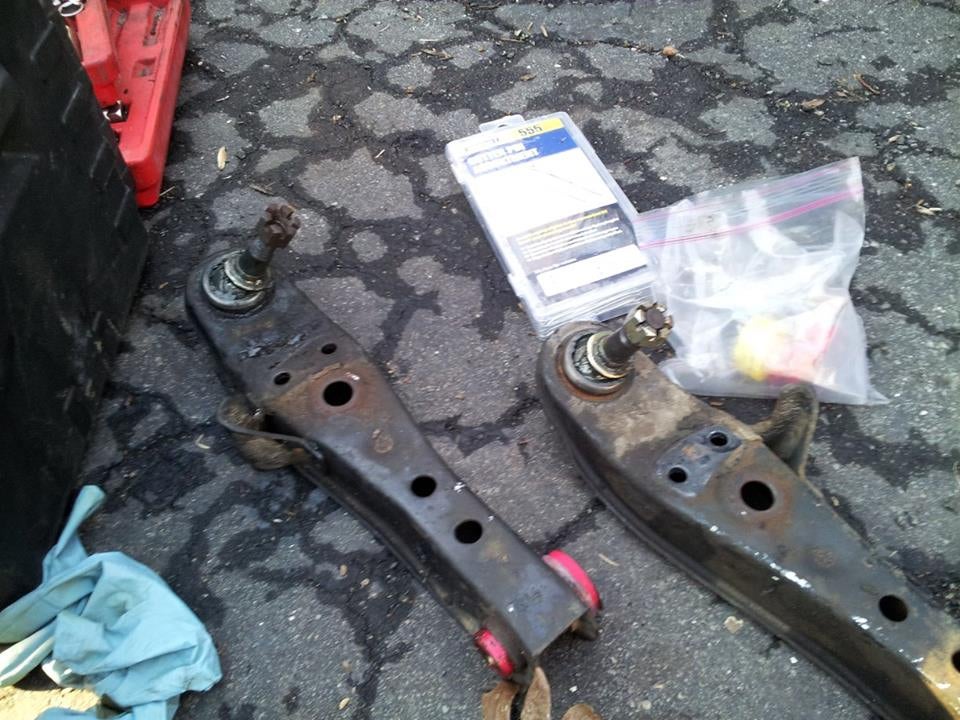
And have new Moog ball joints to press in
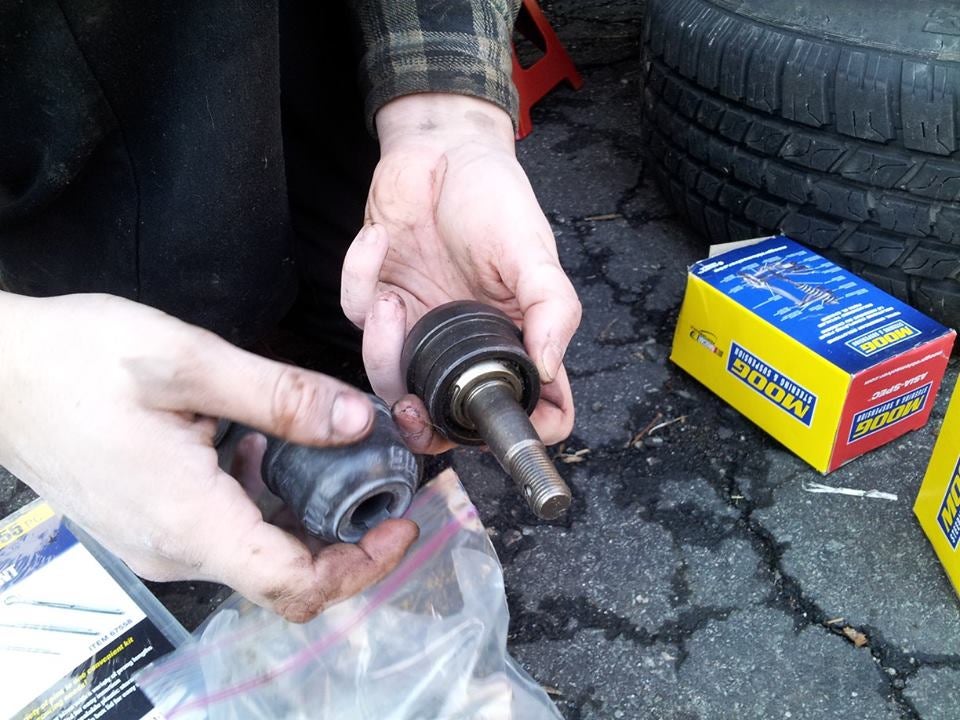
On to the rear end
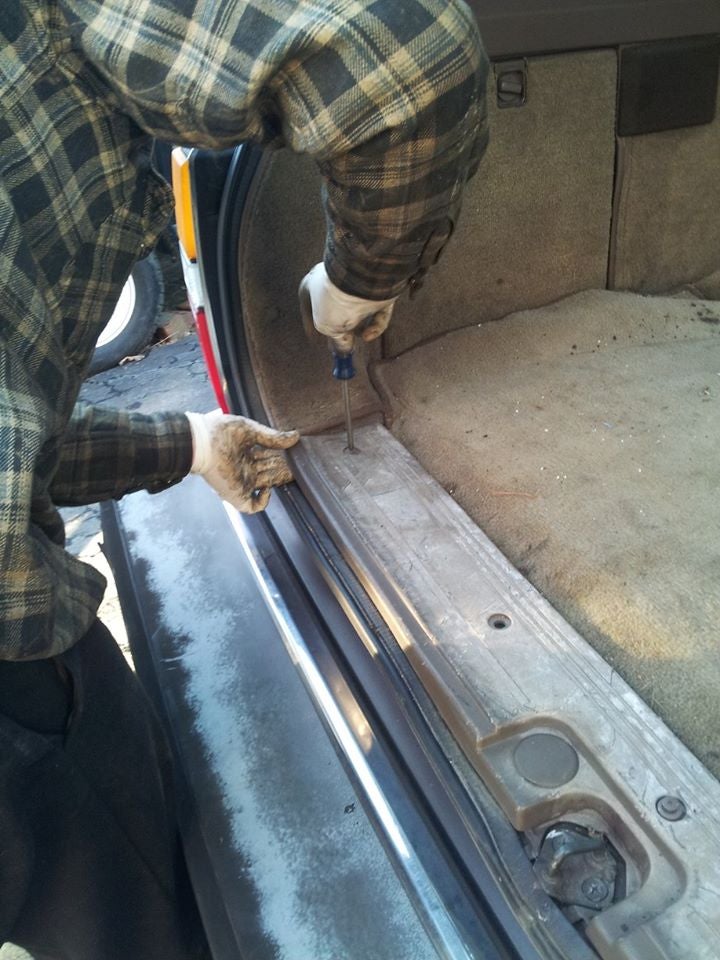
Access panels for the top of the rear shocks
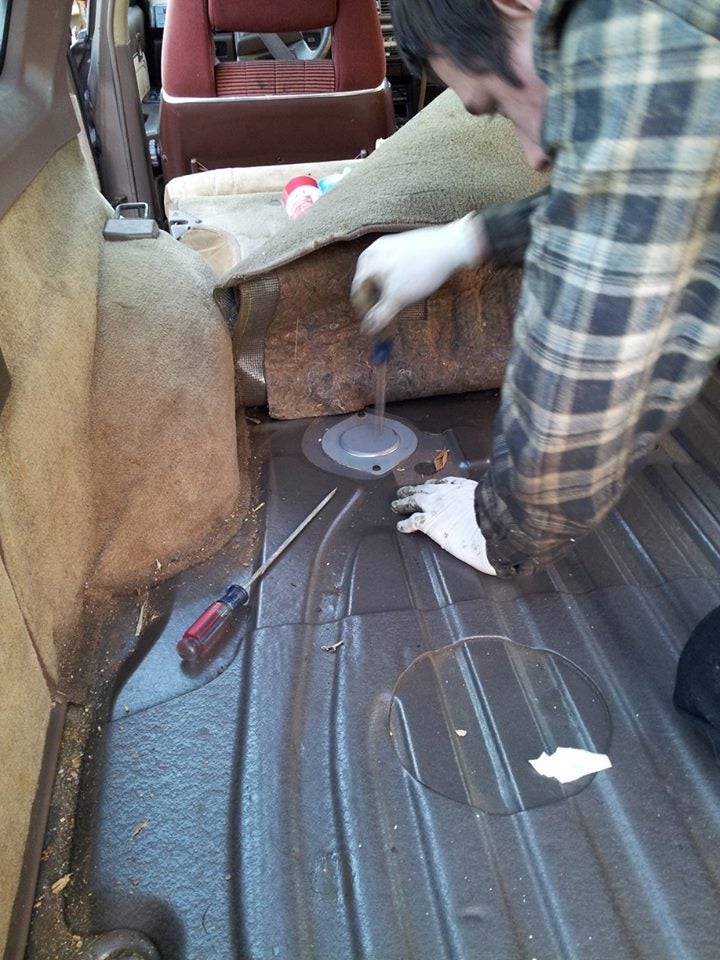
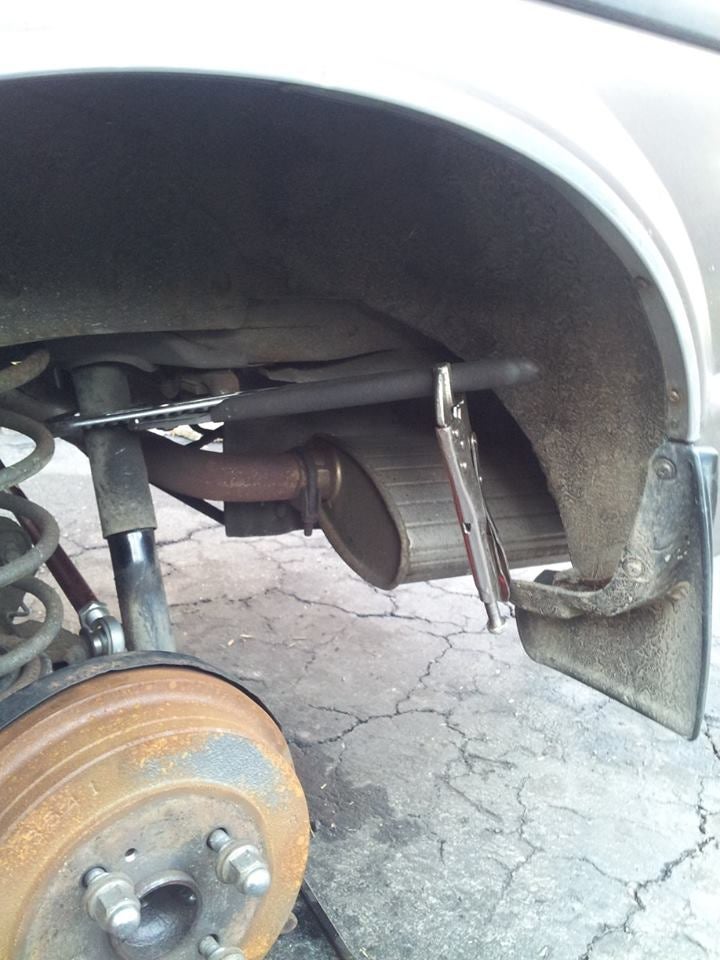
Not a whole lot of luck with the screwdriver holding the shock still.......
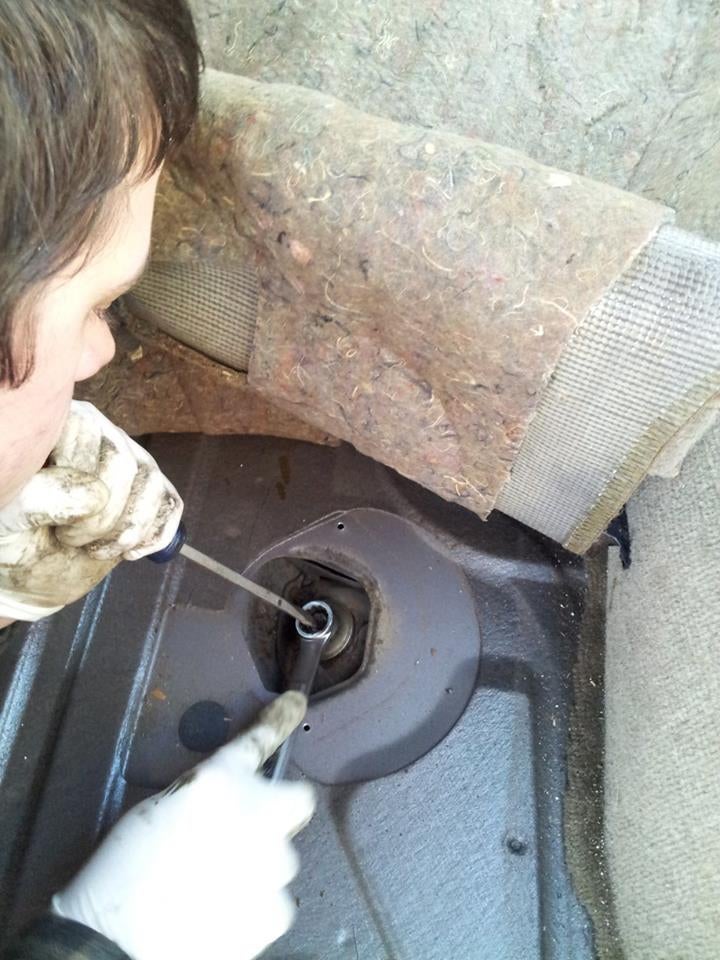
........so I had to improvise..
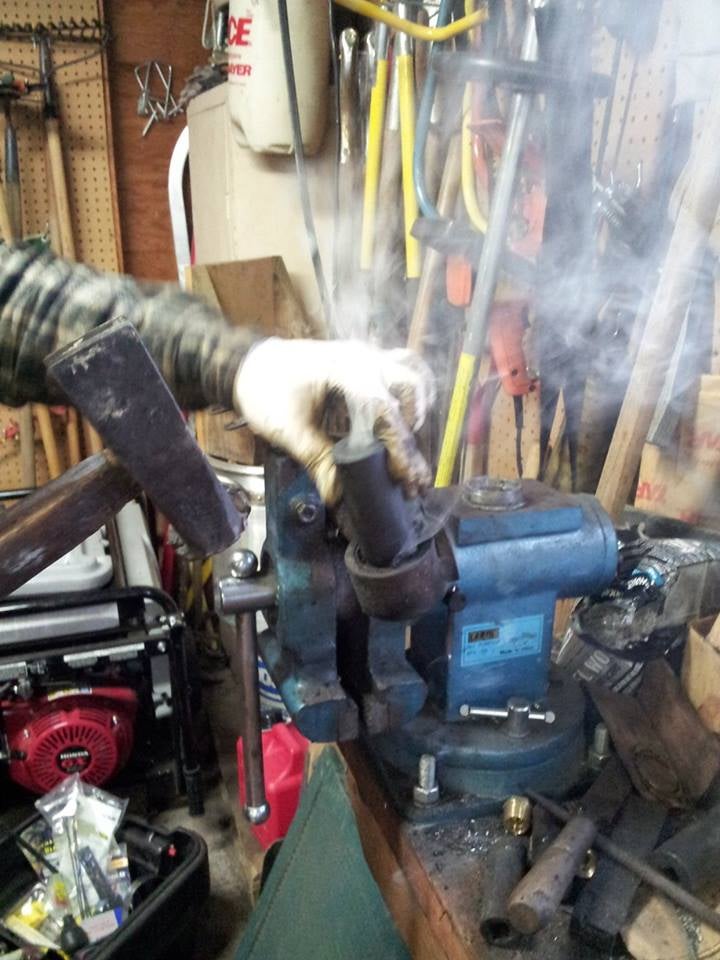
I got the Camaro KYB AGX's in but I didn't take any pics. Here's one of the four axle links getting its bushings removed WITH FIRE
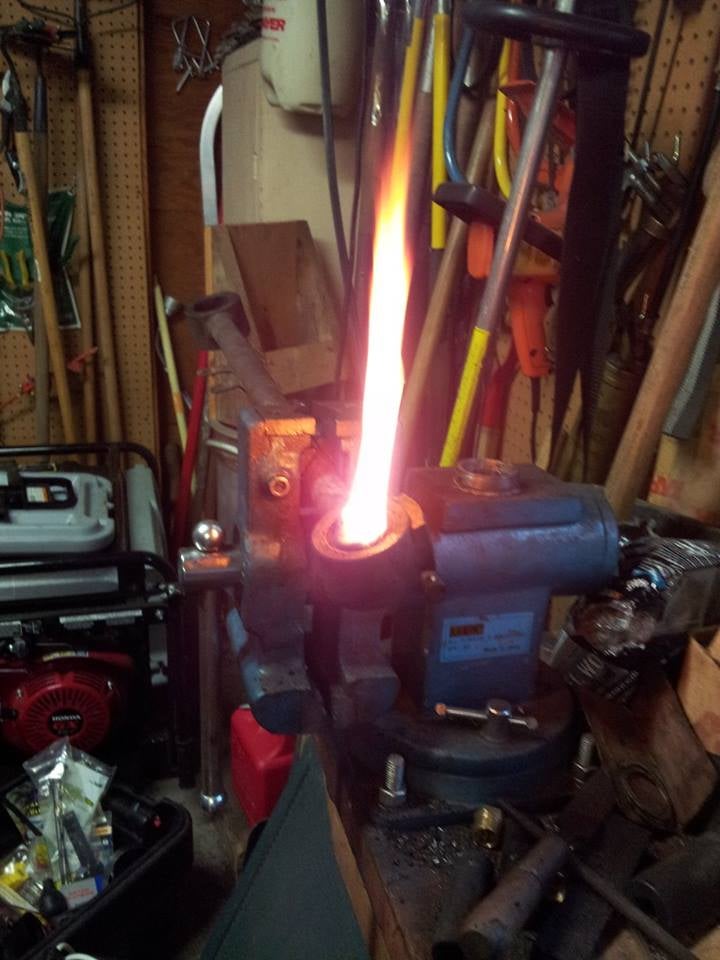
When all else fails, fire and a BFH should get the job done
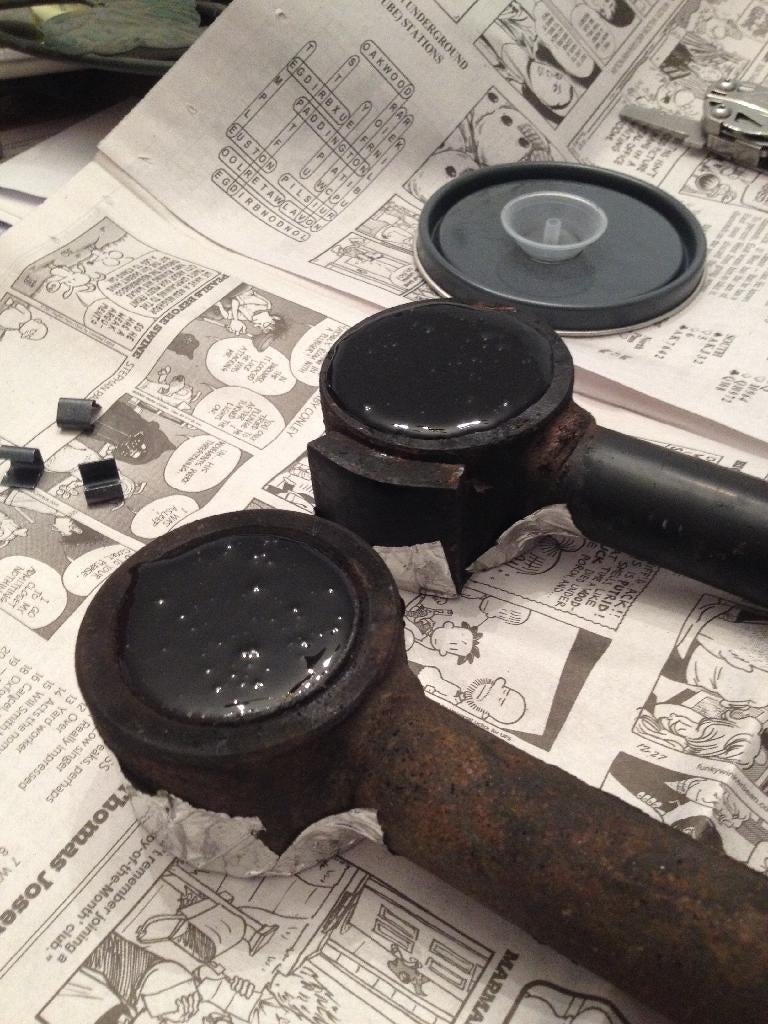
Aluminum tape on one side to hold the urethane
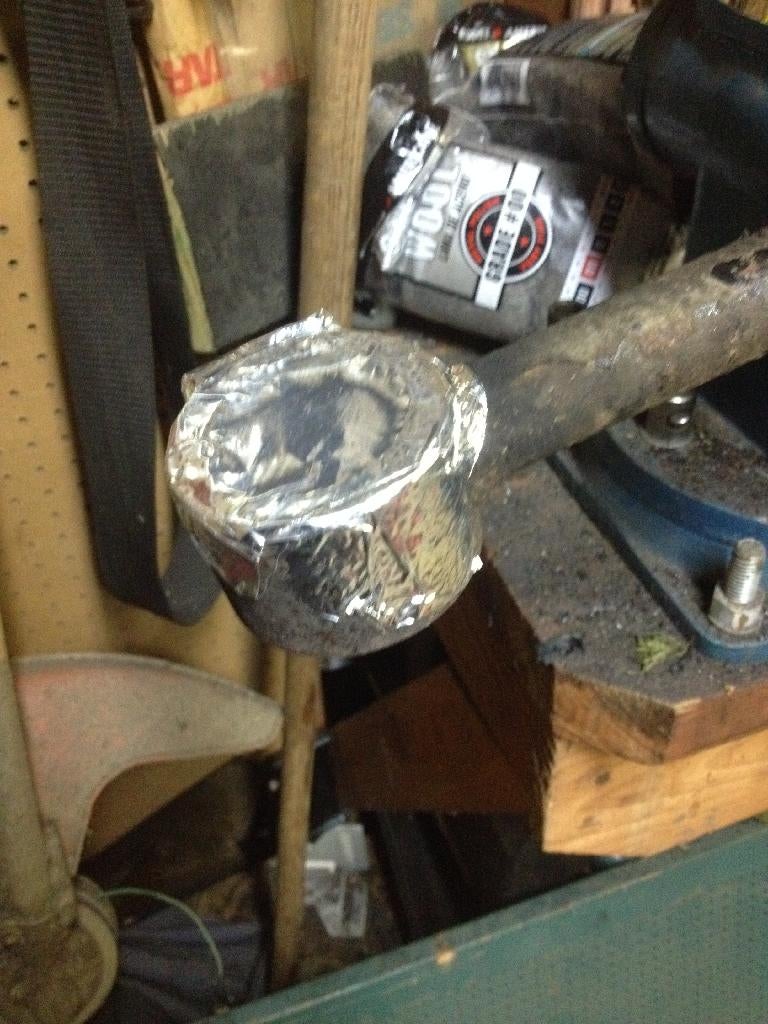
And here's the urethane poured into the arms. I'm only doing two at a time and poured the rest of the urethane into a solo cup. I'll probably use sections of the remaining cylinder as side pieces to keep the arms from sliding laterally on the metal sleeves. Holes will be drilled in the bushings for the sleeves to fit through, obviously.
 Sky Captain Obvious
> MR2_FTW - Group J's resident Stig
01/13/2014 at 00:52 |
|
Nice Crack Pipe
 Coty
> MR2_FTW - Group J's resident Stig
01/13/2014 at 01:11 |
|
Is your name Justin?
 MR2_FTW - Group J's resident Stig
> Coty
01/13/2014 at 01:13 |
|
Nope.